Walking Smores Recipe- Easy Smores in a Bag
Walking S’mores are about to revolutionize your campfire or backyard gathering! Forget the sticky fingers and the precarious balancing act of traditional s’mores. We’re talking about a portable, mess-free, and utterly delicious way to enjoy that classic combination of gooey marshmallow, melty chocolate, and crisp graham cracker. Why do we all adore s’mores? It’s the pure, unadulterated joy of childhood memories, the perfect sweet treat after a day of adventure, and that irresistible pull of warm, melted goodness. What makes these Walking S’mores so special is their ingenious simplicity. Everything you love about a s’more is packed neatly into a single bag, ready to be enjoyed anywhere, anytime. Prepare to fall in love with this easy-to-make, incredibly satisfying dessert that lets you truly savor every single bite without the fuss.
Get Ready for the Easiest S’mores Ever!
Discover the Magic of Walking S’mores

Walking S’mores (S’mores in a Bag)
There are few things more universally beloved than a s’more. The gooey marshmallow, the melty chocolate, the crisp graham cracker – it’s a perfect trifecta of sweet, chewy, and crunchy. But let’s be honest, sometimes the traditional campfire s’more isn’t the most convenient. Maybe you’re on a hike, at a park with no fire pit, or just craving that s’more goodness without the fuss. That’s where my favorite invention comes in: Walking S’mores, or as I like to call them, S’mores in a Bag! This is a brilliant, mess-free way to enjoy all the classic flavors of a s’more, portable and incredibly easy to make. You don’t need a campfire, a stick, or even a plate. All you need is a little creativity and these simple ingredients.
Ingredients:
- 7 Teddy Grahams Snack Packs
- 1 cup miniature marshmallows
- 3 Hershey chocolate bars
This recipe is incredibly forgiving, so don’t stress too much about exact measurements. The beauty of S’mores in a Bag is its adaptability. If you have a few extra marshmallows or a bit more chocolate, toss it in! The goal is delicious, portable s’more perfection.
Step-by-Step Instructions:
1. Prepare Your Graham Crackers: The first step to creating your portable s’mores is to get your Teddy Grahams ready. Open each of the 7 Teddy Grahams Snack Packs. You’ll want to break or crush the Teddy Grahams inside each pack into smaller pieces. Think bite-sized. This makes them easier to mix with the other ingredients and ensures you get a good graham cracker crunch in every bite of your s’more. You can do this by gently crushing them with your fingers right inside the bag, or if you prefer a finer crumb, you can take them out and briefly mash them with the back of a spoon or even just a quick pulse in a food processor if you’re making a larger batch ahead of time. The goal is to create a nice, crumbly base for our s’mores. Don’t worry about perfection here; little chunks are great!
2. Assemble Your Chocolate Base: Now it’s time to add the chocolate. Take your 3 Hershey chocolate bars. I like to break these into smaller pieces, roughly square-shaped, so they distribute evenly throughout the bag. You can snap them along the score lines or use a knife to cut them into smaller chunks. The size doesn’t need to be exact, as the heat from the marshmallows will melt them into gooey pockets of chocolatey goodness. Arrange these chocolate pieces at the bottom of your ziplock bags. A good starting point is to put about 1/3 of the chocolate pieces from one bar into each of the bags. You can adjust this later if you want more or less chocolate per bag. Remember, this is your personal s’more creation!
3. Layer in the Marshmallows: With your chocolate base set, it’s time to add the star of the show: the marshmallows! Take your cup of miniature marshmallows and begin filling your ziplock bags. A good amount for each bag is about 2-3 tablespoons of marshmallows. You want enough so that when they melt, they create that signature gooey texture, but not so many that the bag becomes overloaded and difficult to handle or heat. Try to distribute the marshmallows evenly over the chocolate. Some will inevitably fall to the sides, which is perfectly fine! This layering of chocolate and marshmallow is key to creating that classic s’more experience in a portable format.
4. Add the Graham Cracker Crumbs: Now, let’s bring in those prepared Teddy Graham crumbs. Take your crushed Teddy Grahams and sprinkle them over the layer of marshmallows and chocolate in each bag. Again, aim for an even distribution. You want a good balance of all three s’more components in every bite. A tablespoon or two of crumbs per bag is usually a good amount. If you find your Teddy Grahams are very finely crushed, you might need a little less. If they are in larger chunks, you might want to add a bit more. This step is all about creating that delightful crunch that complements the soft, melted ingredients.
5. Seal and Prepare for Melting: Once you have your graham cracker crumbs added, it’s time to prepare your S’mores in a Bag for the magic to happen. Carefully zip up each ziplock bag, ensuring it is securely sealed to prevent any leaks. The key here is to leave a small amount of air inside the bag, just enough to give the ingredients some room to expand slightly when heated. You don’t want to press all the air out. Now, the “walking” part of Walking S’mores comes into play. You’ll need a way to melt the ingredients. The easiest and safest way is to use a microwave. Place one bag at a time in the microwave. Heat on high for about 20-30 seconds, or until the marshmallows are puffed up and the chocolate is beginning to melt. Watch them closely, as they can melt very quickly! The goal is to warm everything through and get that gooey, melty texture without burning.
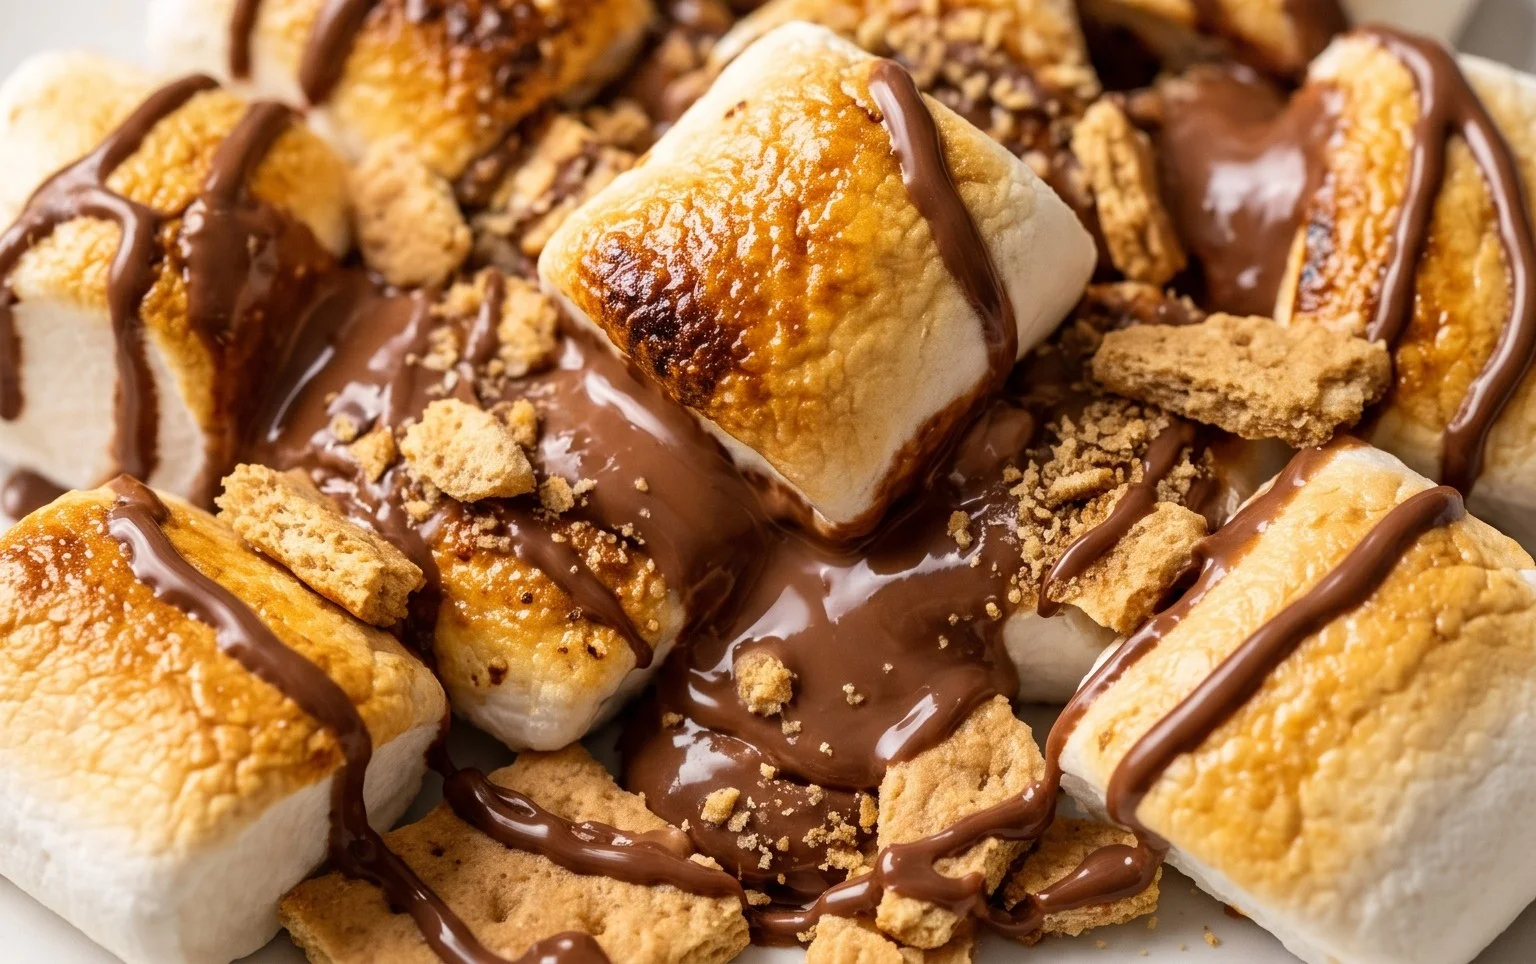
6. The Grand Finale – Enjoy! After microwaving, carefully remove the bag (it will be hot!). Let it sit for about 30 seconds to a minute to allow everything to meld together. Now comes the best part! You can carefully open the bag, using a utensil like a spoon or fork to scoop out the gooey, melted s’more goodness. Or, for the ultimate in hands-free enjoyment, you can carefully sip the melted goodness right from the bag, enjoying the warm, gooey chocolate, marshmallow, and graham cracker mixture. It’s a truly decadent experience that you can enjoy anywhere, anytime. Remember to be cautious as the bag and contents will be hot! This is the perfect treat for a quick snack on the go, a fun activity with kids, or even a unique dessert option for a picnic.
Conclusion:
So there you have it – the ultimate guide to creating delicious Walking S’mores! This recipe truly shines because it eliminates the fuss of open flames and sticky roasting sticks, making it perfect for gatherings of all ages and skill levels. Imagine the delight of your guests as they easily assemble their own perfectly gooey, chocolatey, and graham-cracker-infused treats right in their hands. It’s a fun, interactive, and incredibly satisfying way to enjoy a classic campfire favorite. Whether you’re planning a backyard barbecue, a picnic in the park, or even a cozy movie night indoors, these s’mores in a bag are guaranteed to be a hit. For an extra touch of indulgence, consider serving them with a scoop of vanilla ice cream or a drizzle of caramel sauce. Don’t be afraid to get creative with variations too – try adding a sprinkle of cinnamon to the graham crackers, a few mini chocolate chips, or even a thin slice of peanut butter cup for a flavor explosion. I wholeheartedly encourage you to give this easy and delightful Walking S’mores recipe a try. You won’t regret it!
Frequently Asked Questions:
Can I make these ahead of time?
While it’s best to assemble Walking S’mores just before serving to ensure the chocolate is perfectly melty, you can prepare the individual components (like crushing the graham crackers) ahead of time. This will significantly speed up the assembly process when your guests are ready to dig in!
What’s the best type of bag to use?
We recommend using sturdy resealable plastic bags, like sandwich or quart-sized bags. They are food-safe, easy to handle, and help keep the ingredients contained while allowing for easy mixing and consumption. Avoid using thin plastic bags that could tear easily.
Are there any alternatives to marshmallows?
Absolutely! If marshmallows aren’t your favorite, you can experiment with other meltable candies. Try adding some chopped caramel candies or even some mini peanut butter cups for a different, but equally delicious, s’mores experience. The key is to use something that will soften and create that gooey texture.
Walking S’mores (S’mores in a Bag)
A no-bake, portable s’mores treat perfect for outdoor adventures or quick cravings. All ingredients are combined in a bag and warmed to melt the chocolate and marshmallows.
Ingredients
-
7 Teddy Grahams Snack Packs
-
1 cup miniature marshmallows
-
3 Hershey chocolate bars
-
1/4 cup graham cracker crumbs
-
2 tablespoons butter
-
1 teaspoon vanilla extract
Instructions
-
Step 1
Open the Teddy Grahams Snack Packs and pour the graham crackers into a resealable plastic bag. Add the graham cracker crumbs. -
Step 2
Break the Hershey chocolate bars into pieces and add them to the bag with the graham crackers. -
Step 3
Add the miniature marshmallows to the bag. -
Step 4
In a small microwave-safe bowl, melt the butter. Stir in the vanilla extract. -
Step 5
Pour the melted butter and vanilla mixture into the resealable bag with the other ingredients. -
Step 6
Seal the bag tightly, removing as much air as possible. Massage the bag gently to distribute the ingredients and coat them with the butter mixture. -
Step 7
Place the sealed bag on a warm surface, such as a sun-warmed car dashboard or near a gentle heat source (like a campfire’s edge, not directly in flames), for about 10-15 minutes, or until the chocolate and marshmallows are softened and melted. -
Step 8
Carefully open the bag and enjoy your warm, gooey s’mores directly from the bag.
Important Information
Nutrition Facts (Per Serving)
It is important to consider this information as approximate and not to use it as definitive health advice.
Allergy Information
Please check ingredients for potential allergens and consult a health professional if in doubt.